
News
Features
Calendar
Community Outreach
Missionaries
Thanksgiving Pie Recipes
Liberty Recipe Exchange
One thing that’s always on any Thanksgiving menu is pie! We’re asked for your favorite pie recipes and here are the responses.
Click on the links below and let’s get baking!
Next month: Send us your favorite cookie recipes!
Chocolate Recipes
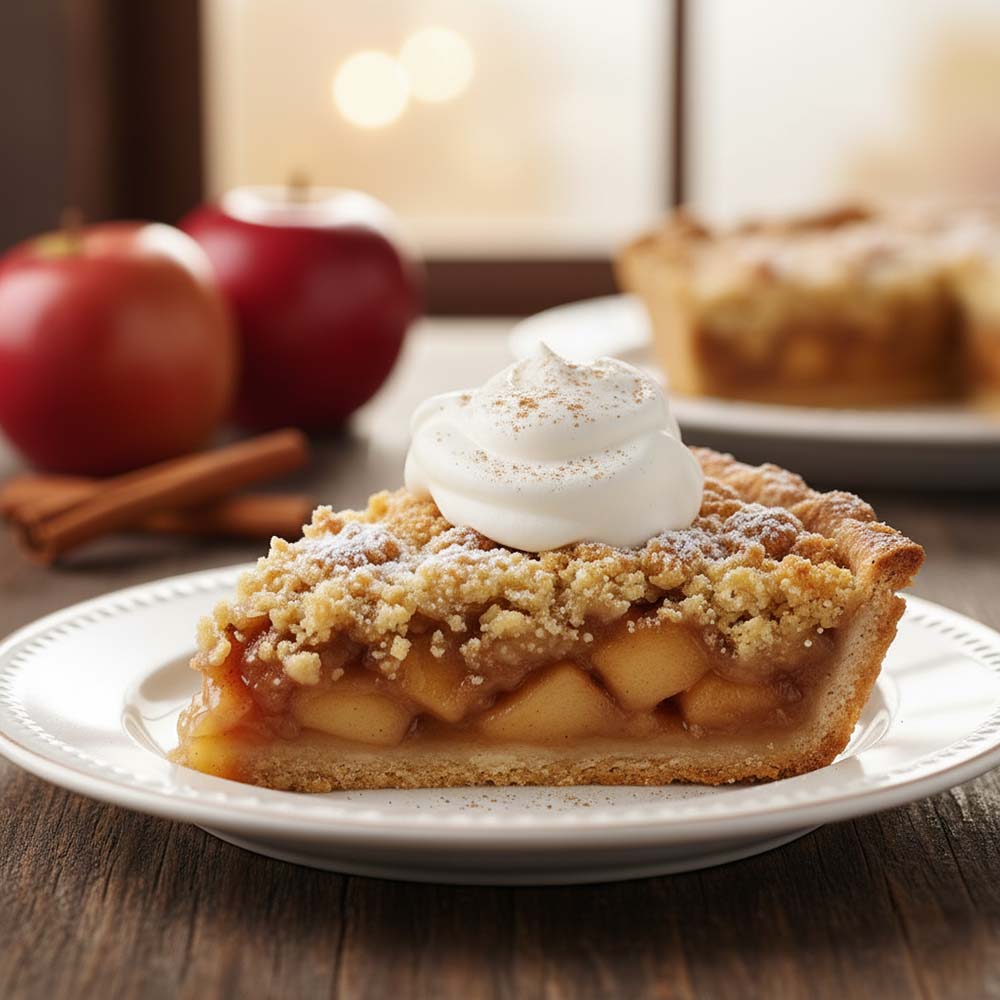
Apple Recipes
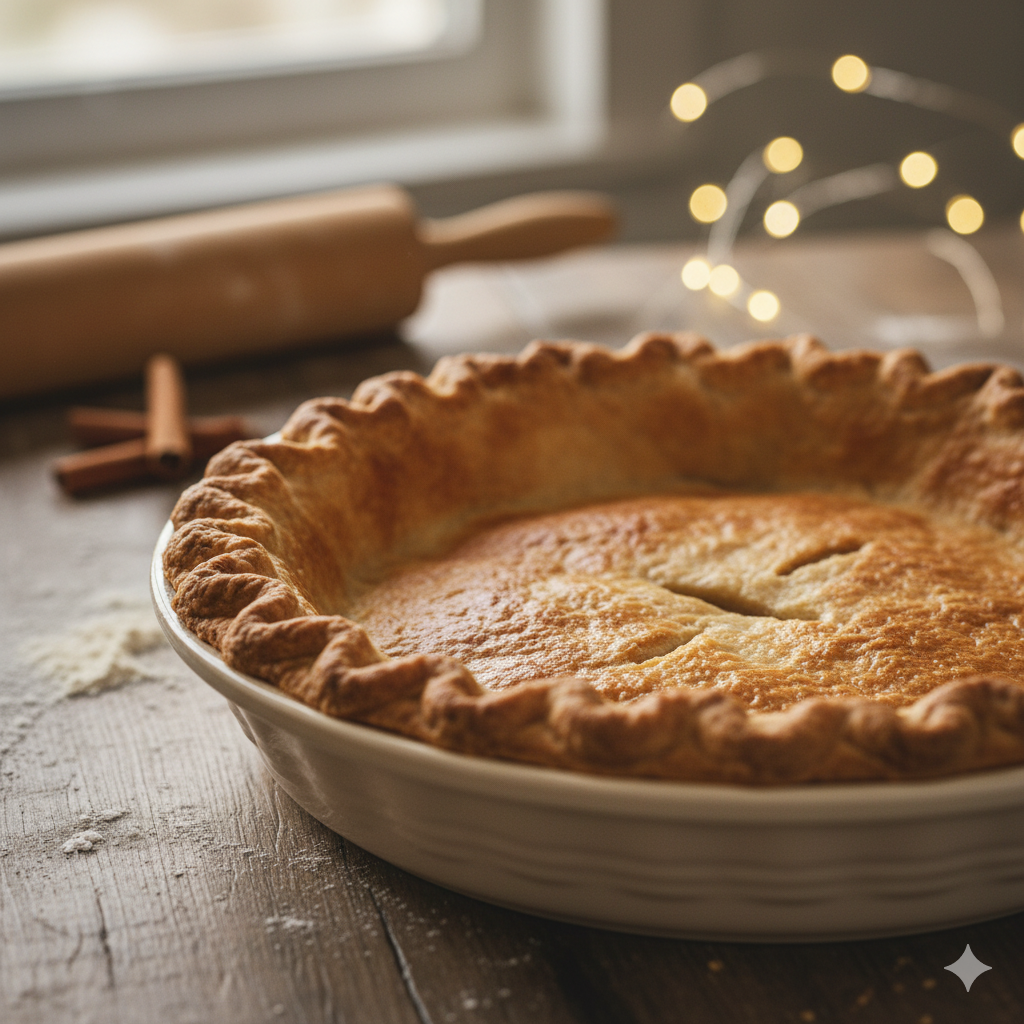
Crust Recipes
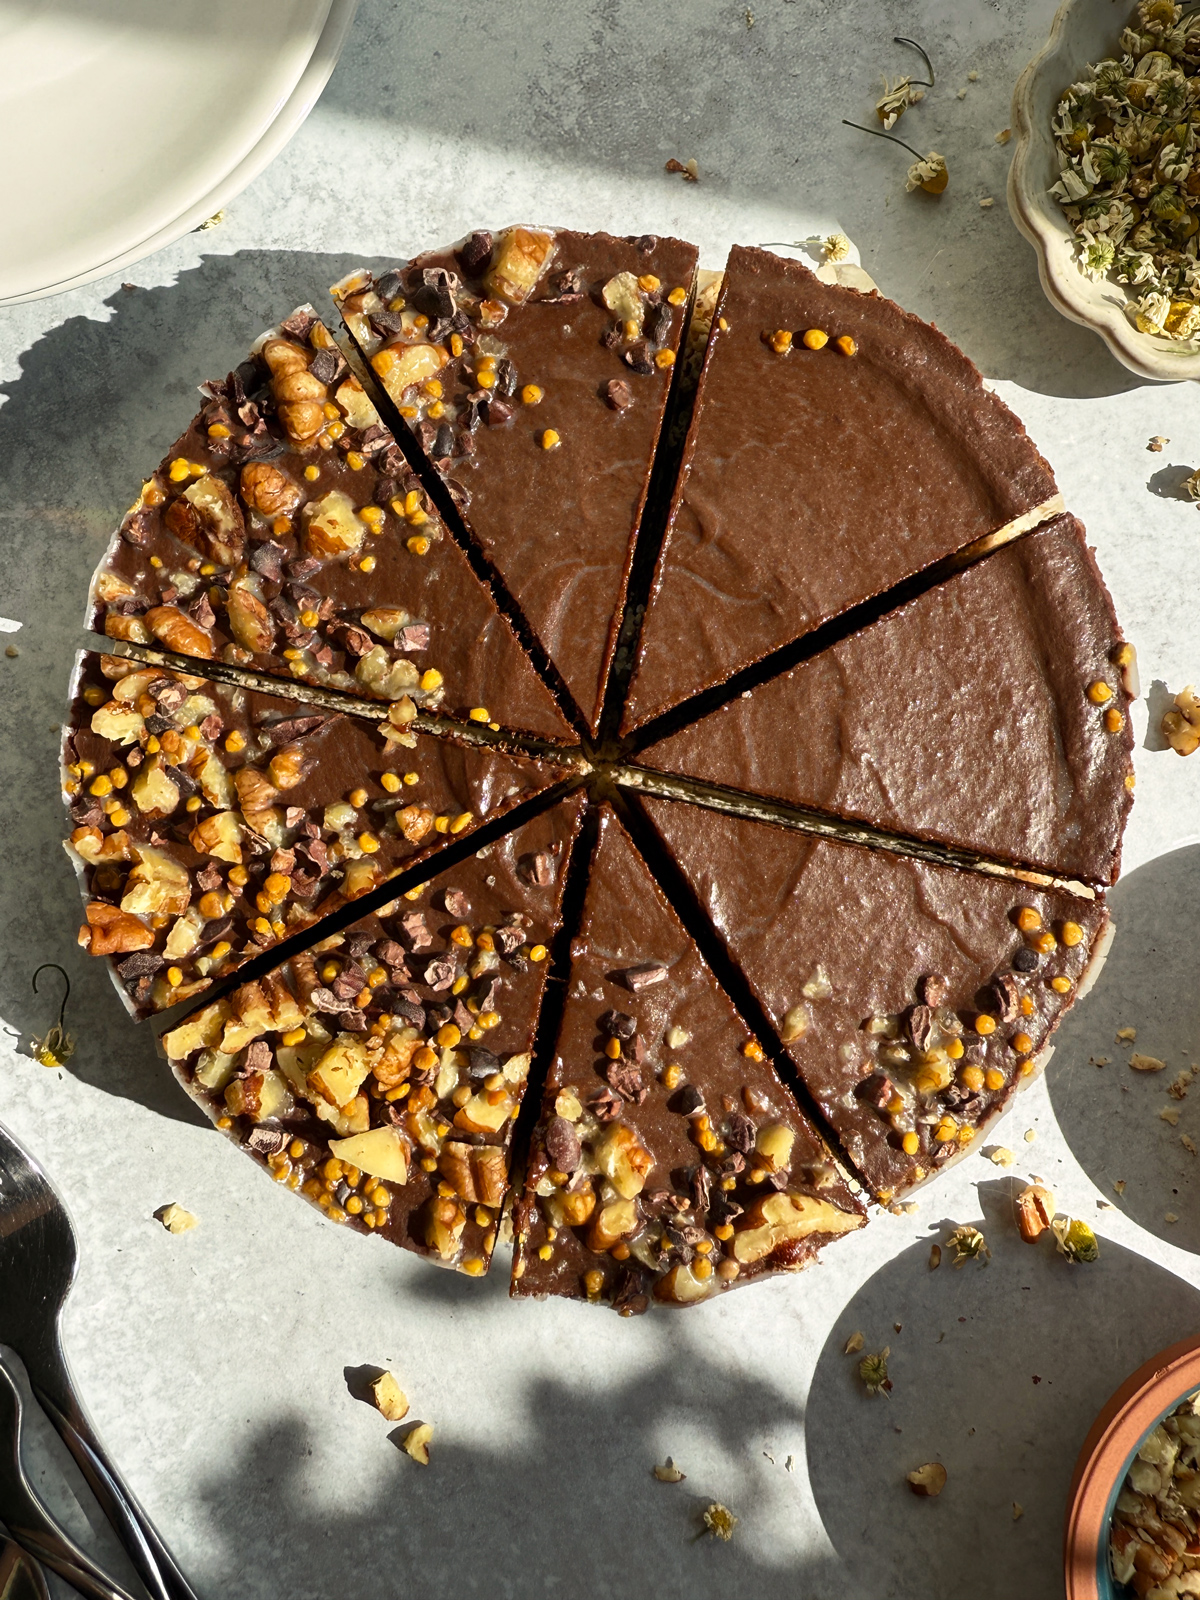
Chocolate Torte
(for my fellow GF & DF ladies)
Submitted by Emma Ames (Rush Creek Ward)
Ingredients
CRUST:
1 cup raw pecan pieces
1 cup unsweetened shredded coconut
1/8 tsp salt
FILLING:
1 cup coconut cream*
1 cup dark chocolate chips (60-75% dark)
1/2 cup creamy, no-stir almond butter
1/2 tsp vanilla extract
Directions
1. Line the bottom of a 6” round springform pan with parchment paper.
2. For the Crust: Combine all crust ingredients in your food processor. Blend, stopping every so often to scrape the sides, until the mixture starts to clump and hold together.
3. Pour the crust mixture into your springform pan. Using your hands or a spatula, firmly press the crust into an even, level layer.
4. For the Filling: Place the chocolate chips and coconut cream in a small sauce pan. Melt on the stove top over low heat, stirring frequently.
5. Once mixture is fully melted, remove from heat and add remaining filling ingredients. Whisk until smooth.
6. Pour the filling over the crust.
7. If desired, add toppings such as chopped pecans, cacao nibs, flaky salt, edible flowers, and bee pollen.
8. Refrigerate at least 2 hours or until fully set.
9. Once set, slice the torte into 8 equal pieces and serve**
10. Store the chocolate torte in an airtight container in the fridge, for up to two weeks. Or, slice and store in an airtight baggie in the freezer, up to one month.
Notes
*Use just the cream from a can of full fat coconut milk or coconut cream. You’ll need 1-2 cans, depending on the brand you use. If the cream and the milk are not separated, then store the can in the fridge overnight. The cream will rise to the top. Discard the water remaining in the bottom of the can.
**The torte will stay solid at room temperature, but will melt if left out in the heat.
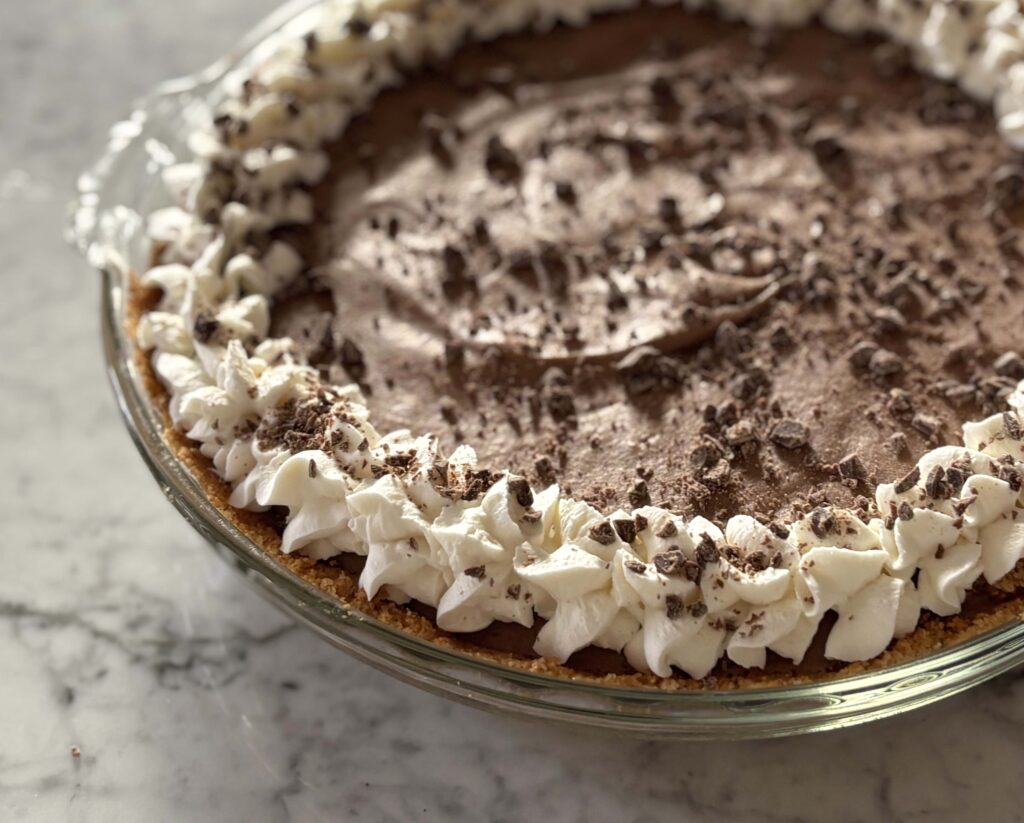
Savannah’s "To-Die-For" Chocolate Pie
Submitted by Savannah Lehnardt (Selia Lehnardt’s daughter-in-law)
Ingredients
Graham Crust:
1 ½ c graham cracker crumbs
1/3 c white sugar
6 T butter
1 t pumpkin pie spice
The Mousse Filling ( Ganache + Whipped Cream)
For the ganache:
1 C heavy cream
12 oz semisweet chocolate chips
1 t vanilla extract
Pinch of salt
For the whipped cream:
2 c heavy cream
¼ cup white sugar

Directions
- For Crust: Melt butter, mix with sugar, crumbs and spice.
- Press into pie pan, Bake 375 degrees for 7 minutes
- For the Mousse: First make the ganache. Place 1 c of heavy cream, chocolate chips, vanilla and salt in a medium pan over low heat, melt and mix well. Remove and cool.
- Then make the whipped cream by whipping 2 cups of heavy cream and sugar until stiff peaks of formed.
- Check on the ganache to ensure it is cool enough to not melt the whipped cream when added.
- Gently fold in the whipped cream into the ganache until a mousse is formed.
- Pour into pie shell. Refrigerate 4-6 hours
Creamy Marshmallow Chocolate Pie
Submitted by Lori Garcia (Hodge Park Ward)
Ingredients
Crust
25 chocolate sandwich cookies
1/4 cup butter, melted (or make a graham cracker crust like I did)
Filling
3/4 cup milk
3 cups mini marshmallows
12 ounces milk chocolate, chopped
1 1/2 cups cold heavy cream
Directions
Finely crush the chocolate cookies in a food processor or blender. Mix in the melted butter until evenly combined. Press the mixture into the bottoms and up the sides of a deep dish pie plate (9.5″x 2″) or a Springform pan evenly and firmly. When you’re ready to serve it you can garnish it with extra whipped cream, if desired. Chill the crust for at least 30 minutes.
Meanwhile, over a double boiler melt the marshmallows and the milk together, stirring frequently.
Once the marshmallows are all melted remove the bowl from the double boiler and stir in the chopped chocolate until it’s melted and smooth. Allow the chocolate mixture to cool to room temperature, stirring occasionally.
Once the chocolate is cooled, place the heavy cream in the bowl of your stand mixer fitted with the whisk attachment. Beat the cream on medium high speed for 1-2 minutes until stiff peaks form. Fold the whipped cream into the cooled chocolate until it’s evenly combined.Pour the mixture into the chilled crust.
Cover and chill the pie for at least 2 hours.
Notes
If you do not have a deep dish pie (9.5″ x 2″) plate you will need to reduce the amount of filling by 1/3, making the amounts: 1/2 cup milk, 2 cups mini marshmallows, 1 cup heavy cream. OR make the recipe as-written and use a 9″ Springform pan. The crust amounts remain the same.
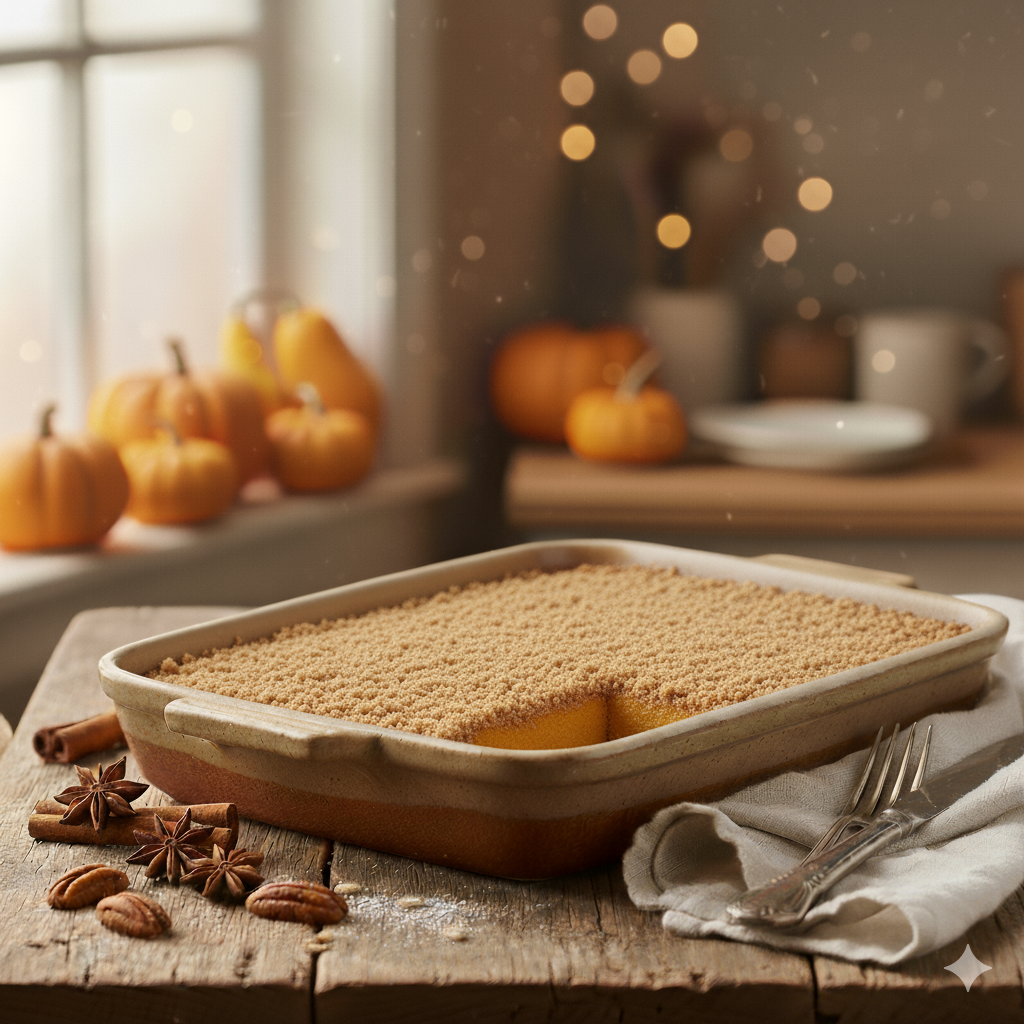
Pumpkin Pie Cake
Submitted by Norma King (Rush Creek Ward)
Ingredients
2 cups pumpkin (or small 15 oz can)
13 oz evap milk
1 cup brown sugar
2 tsp pumpkin pie spice
3 eggs
½ tsp salt
1 – 2 T lemon juice
Topping:
1 dry yellow cake mix
1 cube butter or margarine
Directions
Mix together all ingredients in a mixer then pour into a greased 9X13 pan.
Spread over the top of pumpkin mixture: ¾-1 pkg of dry yellow cake mix.
Melt one cube butter or margarine and pour evenly over the top; or else cut the cube into small slices and scatter evenly across the top.
Bake at 350 degrees for 45 minutes or until done. Test for doneness similarly to testing a pumpkin pie.
Notes
This recipe is so easy and tastes wonderfully like a pumpkin pie, without the extra work.
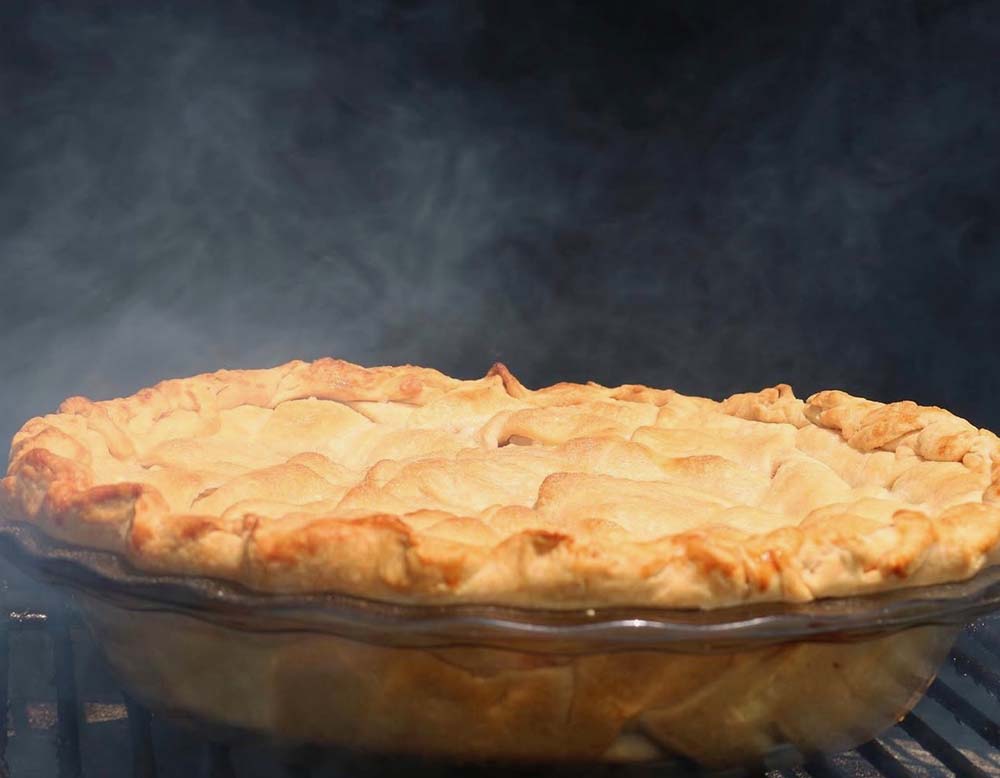
Smoked Apple Pie
Submitted by Brandi Hastings (Hodge Park Ward)
Ingredients
Homemade or premade double crust
Filling:
8-9 large Granny Smith apples or a variety of apples
1 c sugar
2 teaspoons ground cinnamon
1 teaspoon nutmeg
1/2 tsp salt
4 T flour
1 T lemon juice
1 T vanilla extract
1-2 T butter
Directions
- Beat egg, sugar or cream for top of pie
- Preheat the smoker to 375°
- (Make the piecrust) Shape the dough to the pan, make sure to fit the dough onto the edges of the pan. Set aside.
- Prepare pie filling. Peel, core, and slice apples. Set in a large bowl. Mix apples, sugar, spices, flour, and lemon juice.
- Pour apple apples into prepared piecrust. Sprinkle with vanilla and dough with butter.
- Top with crust. (Lattice if you wish) Crimp edges. Cut steam vents. Brush with either beaten egg or cream and sprinkle with sugar.
- Bake at 375° for 50 to 60 minutes, or until the apples are tender, and the crust is golden brown. Turn the pie halfway to ensure even baking about 30 minutes into baking time.
Notes
You may need to cover the pie with foil for half of baking time. Remove from the smoker and cool 2 to 3 hours prior to serving.
Seila’s Apple Pie Filling
Submitted by Seila Lehnardt (Shoal Creek Valley Ward)
Ingredients
1 cup + 1 Tablespoon sugar
3 Tablespoons corn starch
½ teaspoon cinnamon
Pinch of nutmeg
½ Tablespoon lemon juice
1 drop yellow food coloring (optional)
Directions
For syrup: Blend above ingredients with 2 C water and add ¼ teaspoon salt in a pan on stove. Cook until thick and bubbly.
Apple pie: Slice 4-5 apples, place in pie crust and cover with hot syrup, then top with crust. Bake.
Canned Apple filling: Slice apples and fill hot quart jars leaving 1 inch headspace, then pour hot filling over the top. Leave ½ inch head space. Add 2 t fruit fresh to each jar to prevent browning. Process in water bath for 20 minutes.
Notes
When using dry apple slices for canning, put 2 cups dry apple slices in a quart jar, cover with hot water; then pour excess water out before adding syrup. Process as above.
Alice’s Prize-winning Plain Pastry
Submitted by Norma King (Rush Creek Ward)
Ingredients
1 ½ cups flour (sifted, then measured)
4 T water
½ lard (or shortening)
½ tsp salt
Directions
Mix salt and flour. Cut in shortening. Use a pastry blender or two knives held together (it works). Add water ONE TABLESPOON AT A TIME mixing well with a fork after each tablespoon. Then form into a ball. Let sit for a few hours (if possible). Then roll out. I put the dough in between two pieces of saran wrap to roll out.
This will be a flaky pie crust. Lard really adds to the texture.
Bake at 425 for 10 minutes, then 350 for 20-30 minutes. Watch carefully, and cover edges if they start to get too brown.
Notes
This makes a double-crust pie.
Easy Flaky Butter Pie Crust
Submitted by Lori Garcia (Hodge Park Ward)
Ingredients
2 ½ cups (325g) all-purpose flour, spooned and leveled
1/2 teaspoon fine sea salt or 1 teaspoon kosher salt
1 tablespoon sugar, optional
1 cup (230g) very cold unsalted butter, cut into 1/2-inch cubes
6 to 8 tablespoons ice water, or more as needed
Directions
Making Pie Dough in a Food Processor (You can also make it by hand)
1. Combine the first portion of flour and butter: Add 1 ½ cups of flour, salt, and sugar to your food processor. Pulse a few times to combine. Next, scatter the cold butter cubes over the flour mixture. Process for about 15 seconds, until a dough or paste begins to form and there is no dry, uncoated flour left. The flour should take on a pale yellow color, and you should be able to press the dough together.
2. Add the remaining flour: Scrape down the sides of the food processor bowl to redistribute the mixture. Add the remaining 1 cup of flour and pulse 4 to 5 times. The dough should look broken up and a little crumbly, with the flour evenly distributed (see our video for reference).
3. Add water and bring the dough together: Transfer the mixture to a medium bowl. Sprinkle 4 tablespoons of ice water over it, and use a rubber spatula to press the dough into itself. The crumbs should start to form larger clusters. To check if it’s ready, pinch a small amount of dough; if it holds together, you’re good to go. If it falls apart, add 2 to 4 more tablespoons of water and continue to press until the dough comes together. The amount of water needed depends on the level of humidity in your kitchen. Don’t worry if you need to add more than we do in our video.
4. Form and chill the dough: Remove the dough from the bowl and gently form it into a ball on a clean surface. Cut the ball in half, then flatten each half into a disk. Wrap each disk tightly in plastic wrap and refrigerate for at least 1 hour, or up to 3 days. You can also freeze the dough for up to 3 months (just be sure to thaw it overnight in the fridge before using it).
Rolling Out Pie Dough
1. Prepare the dough: Remove one of the dough disks from the refrigerator and let it sit at room temperature for at least 5 minutes. This makes the dough less stiff and easier to roll. Lightly flour your work surface, the top of the dough, and your rolling pin.
2. Roll the dough: Using your rolling pin, roll the dough, turning it a quarter turn after every other roll, until you have a circle about 12 inches in diameter (perfect for a 9-inch pie dish). Periodically check to make sure the dough isn’t sticking to your work surface, and add a small amount of flour underneath as needed. You can always check the size by inverting your pie dish over the dough (you should have about a 1-inch edge all the way around).
3. Transfer to the pie dish: To move the dough to your pie dish, carefully roll it around your rolling pin, then unroll it over the dish. Gently press the dough down into the dish, making sure it lines the bottom and sides without pulling or stretching it.
4. Crimp the edges: Fold any overlapping dough underneath itself to create a thicker, 1/4-inch border that rests on the lip of the dish. To crimp, press the pointer finger of one hand against the inside of the dough while gently pressing with the knuckles of your other hand from the outside.
5. For a double-crust pie, don’t crimp the bottom crust. Instead, roll out your second dough disk, fill the pie, then place the top crust over the filling. Trim the edges of both crusts and then crimp them together as described above.
6. Chill the crust: Slide the unbaked pie crust into the refrigerator and chill for at least 30 minutes.
Notes
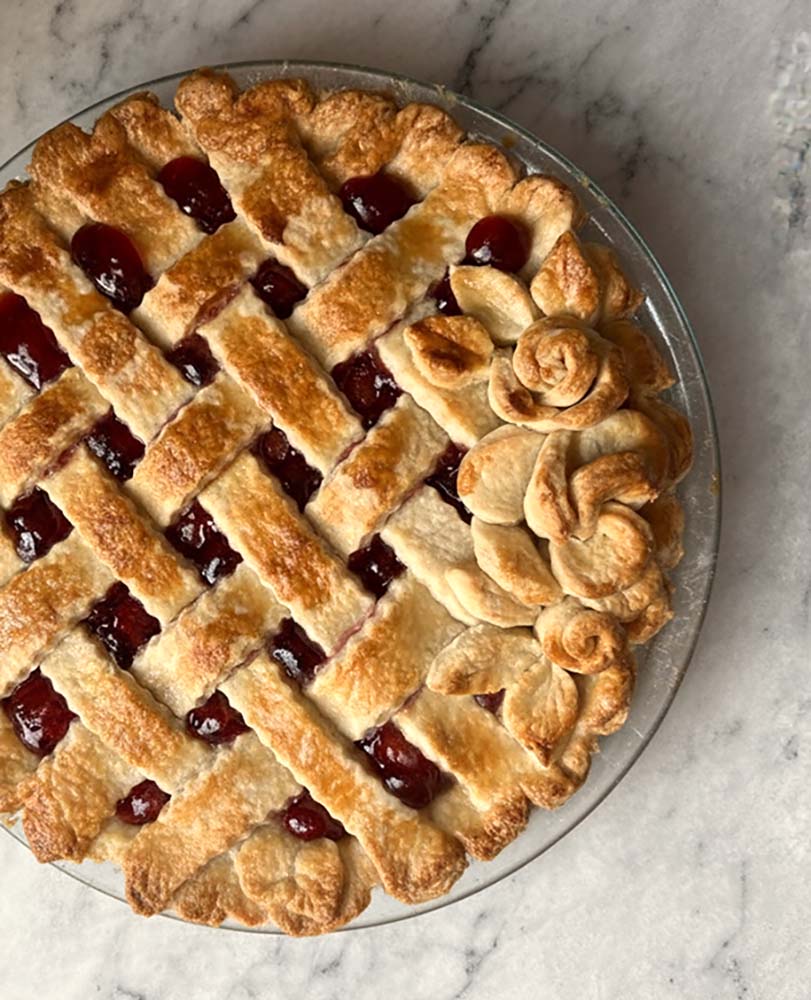
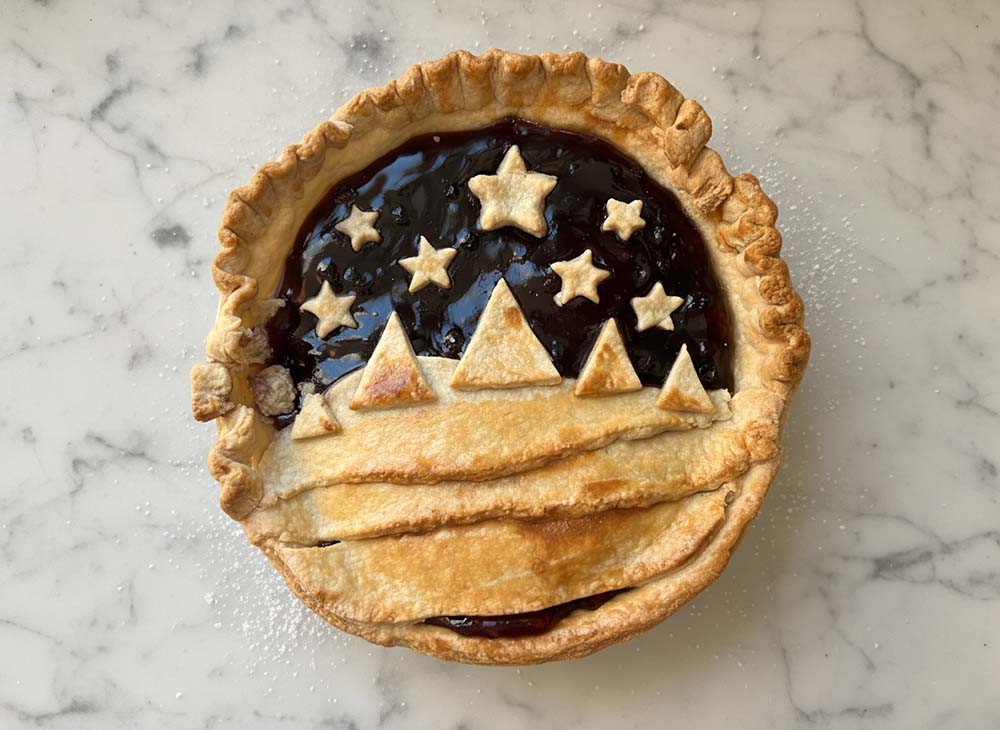
A note from the recipe submitter, Lori Garcia (Hodge Park Ward):
I have been making pie crust for more than 30 years and could not find one that was flaky and had the flavor all-butter provides. Thirty years! I have tried numerous pastry crusts. Turns out I didn’t really need a new recipe, I needed a new way of incorporating the flour and butter. This recipe builds a “butter packet” of butter and flour similar to puff pastry, and therefore creates the flakey texture of your dreams! I found this recipe a couple of years ago, and whether I turn it into a sweet cherry pie or a savory quiche lorraine, EVERYONE remarks on the flaky pastry. I hope you love it as much as I do!

Send us your favorite cookie recipes!
Calling all cooks, bakers and recipe makers! We’re starting a Liberty Recipe Exchange. Share with us your favorite recipes and we’ll share them with our church members and our community at large.
This next month we’re looking for your favorite cookie recipes. With the holidays just around the corner, what are your tried and true recipes?
Send us your recipe (and bonus points if you have a picture of your cookies or you and your cookies as well.)
Do you have to be a member of our church to share? No way! We love all God’s children, and all their pie recipes!